 The Teacher's Corner
Class Jobs Tips & Tricks for Teachers
 Class Jobs Teacher Tips & Tricks
![]() Class Photographer Grades Any
Class Photographer Grades Any
A fun and easy way to capture your classroom memories throughout the school year. You will need either a digital camera or old cell phone. (You might be able to put these on your Back-to-School Wish List, or write a grant for them.) Assign two or three students in your classroom with the job of "Class Photographer". (Having more than one student responsible for this will increase the likelihood that someone will remember to take photos.)
Have students download/upload their photos and have edit and/or delete any needed photos. The "final cut" photos can be added to an online location where all families will be able to access them - such as a shared Google Drive folder or a Dropbox account.
One thing to remember about something like this is that you want to make sure all of your students have the necessary media release forms on file. You will also want to encourage parents to only download the photos and not post them to social media accounts.
![]() Teamwork Counts Classroom Jobs
Teamwork Counts Classroom Jobs
I always start my year off focusing on teamwork. I even carry this into our classroom jobs. Prior to introducing our classroom job chart, I use the book Teammates (by Peter Golenbock) as a read aloud. This is the story of how Jackie Robinson became the first African American player in major league baseball. It highlights how Pew Wee Reese took a stand for Jackie as his teammate. We discussed the idea of being a good teammate in general and then applied that to our classroom.
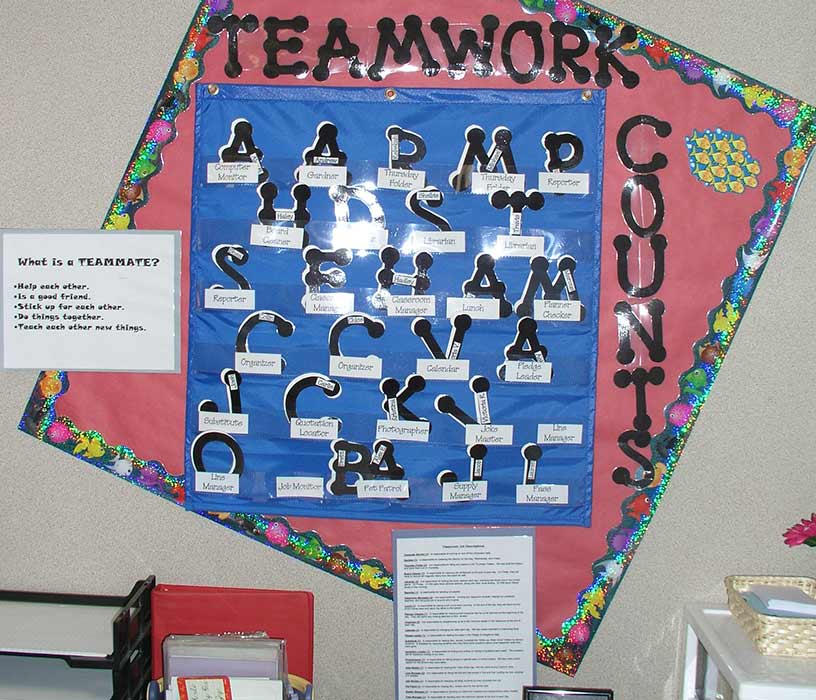
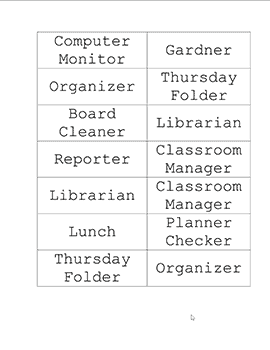
To create the job chart, I used a large pocket chart. The title was “Teamwork Counts”. On small pieces of cardstock, I typed and printed the names of our jobs. (There were about 5 jobs on each pocket row.) I have shared my Job Tag document so you can see the size of the cards. I then created a custom “name tag” for each student, using the first letter of their name. I found a cute font that was available in our die-cut machine. The letter was cut on black construction paper and was about 5 inches in height. (The size of font/letter you decide to use is based on the size of your pocket chart.) I then typed all of the students’ names in a document and printed that. I cut out their names, glued it to their letter and then laminated the letter.
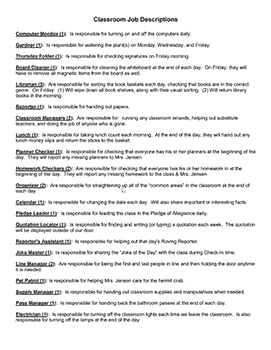
I placed one letter with each job. (I made sure to have a job for every student in my class.) Each Friday morning we would simply slide everyone’s letter down one spot on the chart. Next to the chart was a list of job descriptions. I have included a PDF version of this so you can see which jobs I used in my class.
EMAIL us your favorite teacher resource.